WE. ARE. GOING. TO. DISNEY. WORLD.
I am the quintessential fan that believes Disney World is the best place on Earth. As soon as plans are finalized I set a countdown app on my phone, organize fast-pass schedules, research menu updates, rewatch the classic movies I grew up with (as well as the newer Disney films that have sucked me in as an adult), and poke around Youtube for travel videos that help fuel the anticipation.
Disney World is an escape from real life. As soon as you enter the park, you’re in an entirely different world filled with happiness and magic. Matching t-shirts and funky Mickey ears are not just the oddities of being a tourist – they are a way of life.
This will be our second time visiting Disney World as a family. Unfortunately, our first trip took an interesting turn of events when 3 out of the 4 of us caught a stomach bug. Thankfully we were still able to enjoy every park we intended to visit due to the timing of the symptoms, but we were pushing through some of our days with effort, and it certainly put a damper on the entire trip.
This year is our do-over, and with a new Disney trip comes new Mickey ears!
I wanted to put in more of an effort than last year’s no-sew option required, and skip matching themes in favor of reflecting our individual personalities.
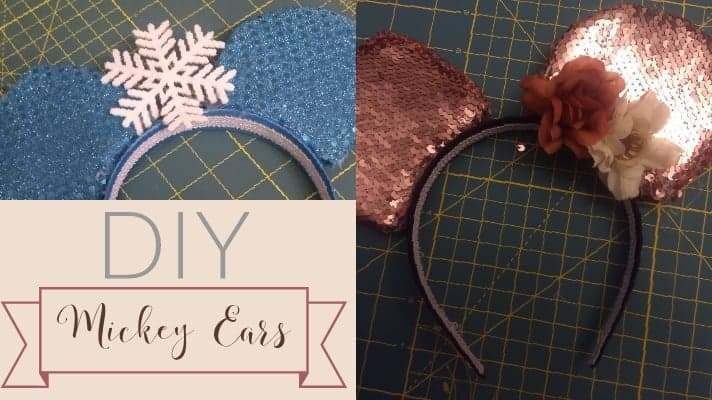
It is the dream of every millennial fan girl to own a pair of rose gold ears, and I can’t say I’m an exception. I struck gold (no pun intended) when I found adorable sequined rose gold material on sale at Joanne’s! That was definitely going to be my pair.
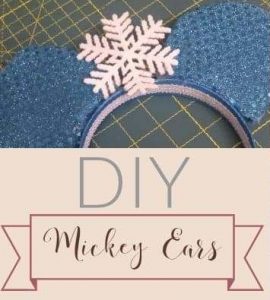
My daughter’s first experience with fandom is happening within the world of Frozen, or as she calls it, “Let It Go“. In fact, we scheduled our fast passes such that the very first thing we do on our very first day at the park is the Frozen Ever After ride. There was just no other choice than to give the girl a Frozen-themed set of mouse ears…complete with a snowflake.
For the boys, I decided hats were the preferred option. It would be more comfortable for my son, and my husband would probably wear a hat anyway if I didn’t give him Mickey ears instead. Being a good sport about my insistence that we go full Disney, I didn’t fancy up his participation more than necessary. He’s getting regular black ears attached to a plain black hat. My son, on the other hand, has a bit more fun of a pattern. There were so many adorable Disney prints to choose from, but in the end, I decided on simple Mickey faces on a red background.
I’m excited to wear these awesome homemade ears. I’m excited about Disney World! I can’t wait to show these off!
What You Need
Fabric (1/4 of a yard is more than plenty)
Foamboard
Pieces of felt
Polyester fiber-fill
Rotary cutter and scissors
Hot glue
Sewing machine and thread
A hat or headband
Any embellishments you would like to decorate with
.
Directions
To begin, outline the shape of the ears on a foam board, one for each ear. Make sure they are the same size. My ears measured a little over three inches both horizontally and vertically. Don’t forget to give the bottom part of the ear an arch.
Cut out the ears. A rotary cutter is going to give you the cleanest cut. Scissors are difficult to maneuver through the hard foam, but it’s not impossible.
It’s okay if the edging isn’t smooth.
Trace your foam cutouts on the felt four times. Cut them out. I didn’t care what color felt I used since my material wasn’t transparent, with the exception of the Frozen-themed ears. Just keep in mind what might show through the material, and pick your felt pieces accordingly.
Hot glue a piece of felt to each side of the foam ears.
Then, hot glue along the top and side edges of the ears and attach pieces of the polyester filling. This will give the ears better form and a cleaner look.
On the back of the fabric, draw four mouse ear shapes. They should be about an inch bigger than the foam pieces. Using a rotary cutter, cut the pieces out.
Pin together two pieces of the ear-shaped fabric, pinning them “right” sides together with the “wrong” sides facing out. Do the same for the other set of fabric earpieces.
Now it is time to sew! Sew along the side, top, and down the other side of each ear, leaving the bottom arch open.
Once removed from the sewing machine, reach into the bottom opening and pull the fabric so that the ears are now right side out.
The foam piece is now ready to be inserted. In order to fit the foam into the fabric, bend it in half. It will feel like the foam might snap, but just keep bending until it folds “hot dog style”.
Push the foam into the fabric, allowing it to unfold once it is covered. Adjust the fabric around the foam so there are no wrinkles.
Rather than trying to maneuver the bottom piece back into the sewing machine so as to close the bottom of the ears, hot glue at this point is secure enough. Simply fold down the access fabric on the bottom of the ears and glue it in place.
To finish, attach the ears using hot glue to a headband or hat. For extra character, add an embellishment. I included a couple of plastic flowers in my rose gold ears, and to really capture the Frozen theme I attached a felt snowflake ornament to the middle of my daughter’s ears.
Originally published 12/23/2018
