
Resin is all the rage these days, and I am here for it! With little time and care, these crafts have versatile possibilities with gorgeous results. Most of all, this is an addicting and satisfying activity!
For those not in the know, epoxy resin is a liquid adhesive that dries into a shiny and clear plastic. The resin typically used in small DIY projects is easily found in craft stores, as well as major retailers such as Walmart and Amazon. While it is necessary to use gloves and take precautions to minimize a mess, the resin is relatively easy to use.
Jewelry is a popular project for resin users, but with the right molds, anything is possible! As much as I adore the stunning necklaces and earrings created with resin, my absolute favorite project so far is bookmarks!
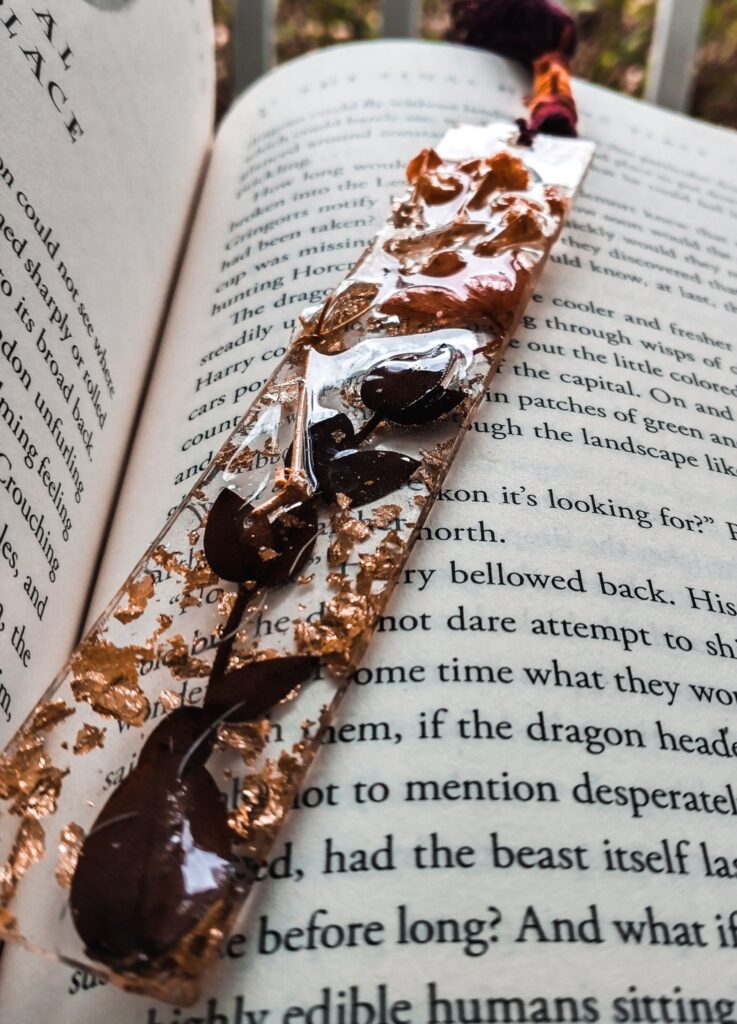
That shouldn’t be a surprise. As an obsessive reader, I love fun and fancy bookmarks! The end result of this project filled me with joy, and I look forward to making more of these in the future. For my next idea, I’ll use specific dyes and embellishments to match the theme of Hogwarts houses (I’m almost finished rereading Harry Potter, so that is currently on my mind). These will also make special gifts for my fellow bookworm friends.
Before working with resin, consider health and safety measures when setting up your space. Work in a well-ventilated area, preferably outside if possible. Wear a mask to avoid breathing in toxic fumes. To avoid skin irritation, wear disposable gloves. If resin does come in contact with your skin, immediately use warm water and soap. If this does not work, vinegar and/or nail polish remover should do the trick.
What you need:
Two mixing cups (these usually come with the kit)
2 or 3 stirring sticks (popsicle sticks work well if your kit did not provide them)
embellishments (dyes, glitter, gold foil, dried flowers, confetti, etc.)
Directions:
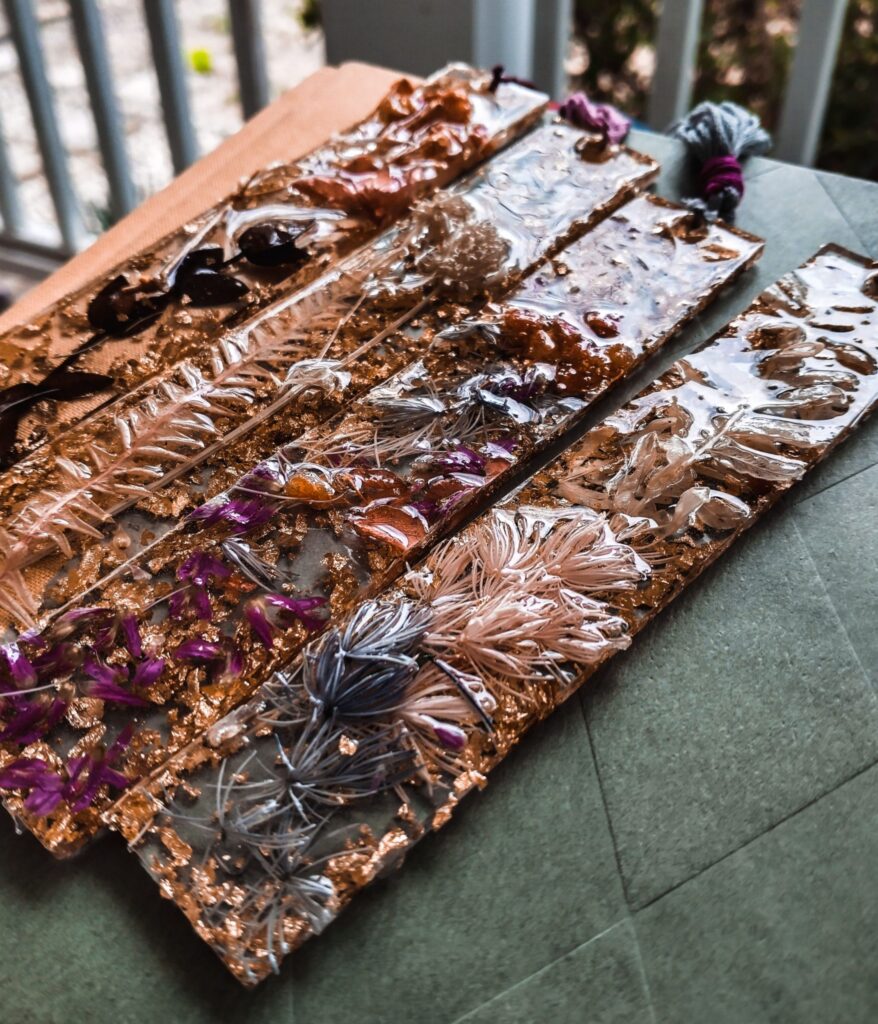
To begin, arrange dried flowers, confetti, or any other embellishments inside the bookmark molds.
Glitter, dyes, and gold leaf will be added later.
Next, mix the resin. Prepare to work fast! Use a popsicle stick to mix equal parts of resin and hardener (the two bottles that come in the kit) in one of the mixing cups. To make 4 bookmarks, you only need 1/4 cup of each. Mix for about 2-3 minutes.
Pour the resin mixture into the second mixing cup. Mix for another minute. At this point, you can incorporate glitter/dyes/gold leaf. Mix until well incorporated.
Slowly pour the resin into the molds, filling them no more than halfway. Using a new popsicle stick, carefully spread the resin evenly across the mold. Air bubbles are okay if you prefer the look of them in the finished product, but if you want a smoother style, use the popsicle stick to pop any air bubbles you see.
Set the molds aside in a well-ventilated area. Allow them to sit for 24-48 hours. When dried, pop them out of the molds!
For pazzazz, add tassels to the top of the bookmarks.
Originally posted March 2021
.